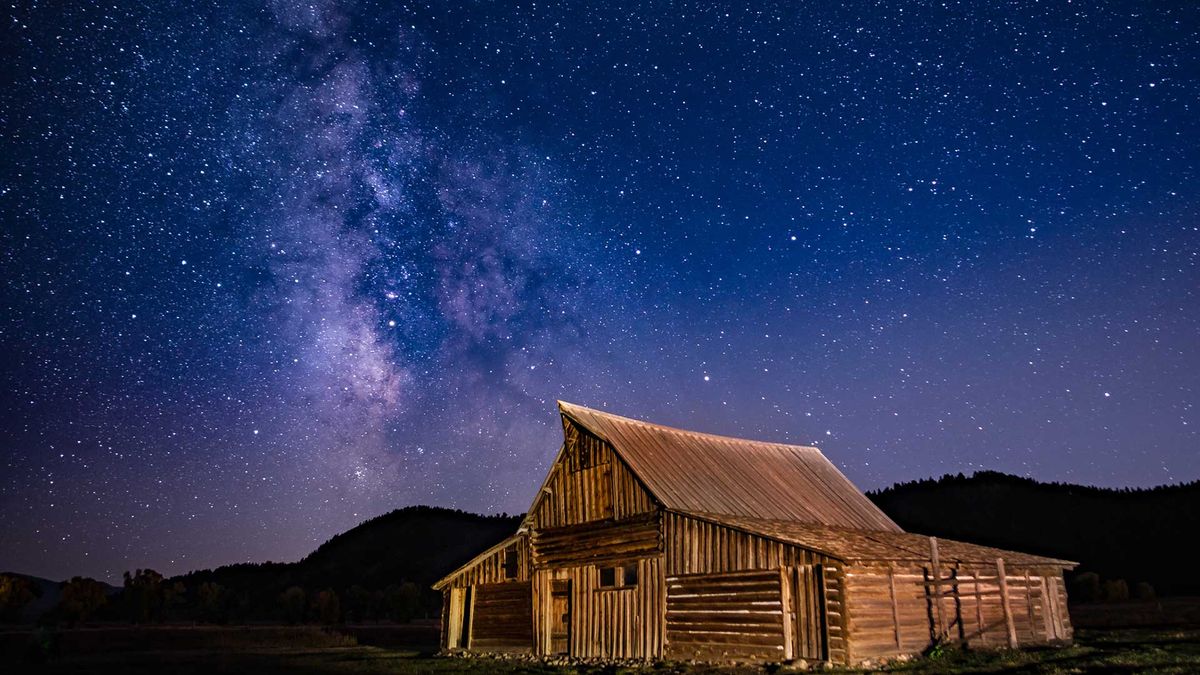
Astrophotography and night photography are both incredibly rewarding yet challenging genres of photography. Capturing the beauty of the night sky requires specialized techniques and equipment. In this guide, we’ll explore essential tips and tricks to help you excel in both astrophotography and night photography, brought to you by PhotographyStory.com.
What is Astrophotography?
Astrophotography involves photographing celestial objects like stars, planets, and galaxies. It’s a popular genre for photographers who love science and the night sky. With the right techniques, you can capture breathtaking images that showcase the vastness and beauty of the universe.
Key Techniques for Astrophotography
Astrophotography demands patience and precision. Here are some essential techniques to help you get started:
- Equipment: Invest in a good quality DSLR or mirrorless camera, and a sturdy tripod to avoid camera shake. A remote shutter release can also be helpful to prevent any movement during long exposures.
- Settings: Use a low ISO (400-1600), a wide aperture (f/2.8 – f/4), and long exposure times to capture more light. Experiment with different settings to find what works best for your specific conditions.
- Focusing: Manual focus works best. Focus on a bright star or distant light. Use the live view mode on your camera to zoom in and achieve precise focus.
- Location: Choose a location with minimal light pollution. Dark sky areas, away from city lights, will provide the best results.
- Weather: Clear skies are essential for astrophotography. Check the weather forecast and plan your shoots for nights with little to no cloud cover.
Night Photography Tips
Night photography, like astrophotography, requires careful planning and execution. Here are some tips to help you capture stunning night scenes:
- Lighting: Utilize available light sources like street lamps or moonlight. Bring along a flashlight for light painting techniques. Light painting can add interesting elements to your photos and highlight specific areas.
- Exposure Settings: Start with a low ISO, a wide aperture, and a slow shutter speed. Adjust based on your specific conditions. Longer exposures will help capture more light and detail, but be mindful of potential noise.
- Composition: Incorporate interesting foreground elements to add depth to your photos. Look for reflections in water, silhouettes of trees, or unique architectural features.
- Stability: Use a tripod to keep your camera steady. Even the slightest movement can blur your photos during long exposures.
- Experimentation: Don’t be afraid to try different angles, perspectives, and techniques. Night photography offers a lot of creative freedom.
Post-Processing
Editing is crucial in both astrophotography and night photography. Use software like Lightroom or Photoshop to enhance details, reduce noise, and adjust brightness. Here are some post-processing tips:
- Noise Reduction: Long exposures can introduce noise. Use noise reduction tools to clean up your images without losing important details.
- Contrast and Brightness: Adjust contrast and brightness to bring out the stars and other elements in your photos. Be careful not to overdo it, as this can create an unnatural look.
- Color Correction: Adjust the color balance to achieve a natural look. Night skies often have a blue or purple tint, which can be corrected in post-processing.
- Sharpening: Use sharpening tools to enhance details and make your images look crisp. Focus on areas with the most detail, like stars and foreground elements.
Conclusion
Both astrophotography and night photography offer unique challenges and rewards. With the right equipment, settings, and techniques from PhotographyStory.com, you can capture stunning images of the night sky. Remember to practice, be patient, and experiment with different approaches to find your unique style.
Be the first to comment